The TextUs integration for Salesforce links your TextUs accounts with your Salesforce instance so that you can synchronize your contacts, leads, and other relevant information between the two platforms.
Advanced users can also customize their integration to send automated two-way text messages that are triggered by specific events, such as sending a follow-up text message after a lead has been contacted in Salesforce. For more information on advanced customization settings, see Add Automated Text Messages to Your Salesforce Flows.
Supported Salesforce versions
- Lightning Experience
- Classic view for Salesforce
Getting started with your Salesforce integration
The sections below describe how to integrate TextUs with your Salesforce instance and how to synchronize data between the two platforms.
Install the TextUs for Salesforce App
To install the TextUs for Salesforce App in your Salesforce account, complete the following steps:
- Go to the TextUs for Salesforce page in the AppExchange and click Get It Now.
- Click Log in to the AppExchange and log in with your Salesforce credentials.
- Enter your connected Salesforce account login and click Install in Production.
- Read and accept the terms and conditions, then click Confirm and Install.
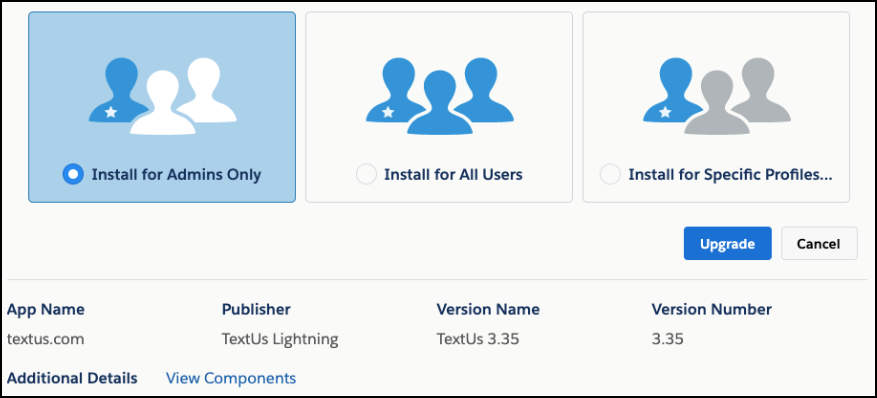
- Click Install for Admins Only, then click Install.
Configure the TextUs for Salesforce App settings
Next, you need to configure the TextUs for Salesforce App settings in your Salesforce account:
- On the Setup page, enter Custom Settings in the Quick Find search box.
- On the Custom Settings page, locate the TextUs Settings label and click Manage.
- Click Edit and update the following items:
- Click the checkboxes for Use Trigger for Text Activities and TextUs Next
- Update the TextUs Contact Connect Class field to SOSLContactConnectNext
- Update the Activities Service Class field to ActivitiesServiceNext
- Update the TextUs API endpoint field to https://next.textus.com/
- Click Save.

Update task record fields
In some cases, user profiles in Salesforce may not have access to the Type field in task records. To verify that the Type field is visible for all profiles, complete the following steps:
- Go to the Setup > Object Manager page and enter Task in the Quick Find search box.
- Click Task > Field & Relationships.
- Click the Type field label.
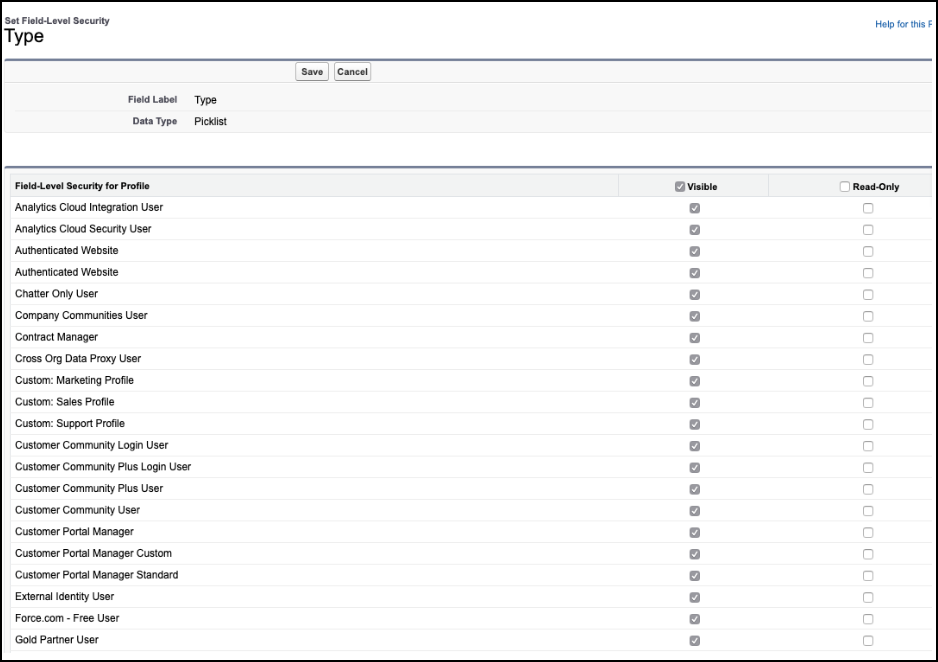
- Click Set Field-Level Security.
- Check that the Visible checkbox is selected for all profiles.
- Click Save.
Run TextUs batches
Complete the steps below to run TextUs batches in Salesforce and sync your user’s text messages with their contact’s pages:
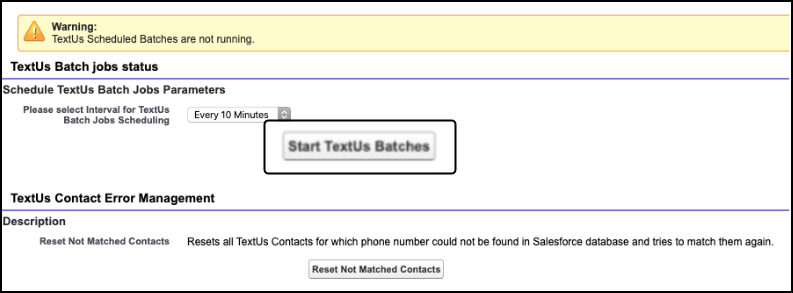
- On your TextUs App in Salesforce, click TextUs Admin Settings.
- Under the TextUs Batch Jobs status menu, click Start TextUs Batches.
Enable your Salesforce integration in TextUs
After you have completed the TextUs App installation process, follow the integration process below to link your TextUs account to Salesforce.
Note: Your Salesforce administrator should complete the steps in this section to ensure your integration is completed with the correct account settings and permissions. For Bullhorn Messaging customers, you can enable your Salesforce integration in the TextUs web app by logging into next.textus.com.
- In the TextUs web app, log in to your Org Admin account and click the Settings tab.
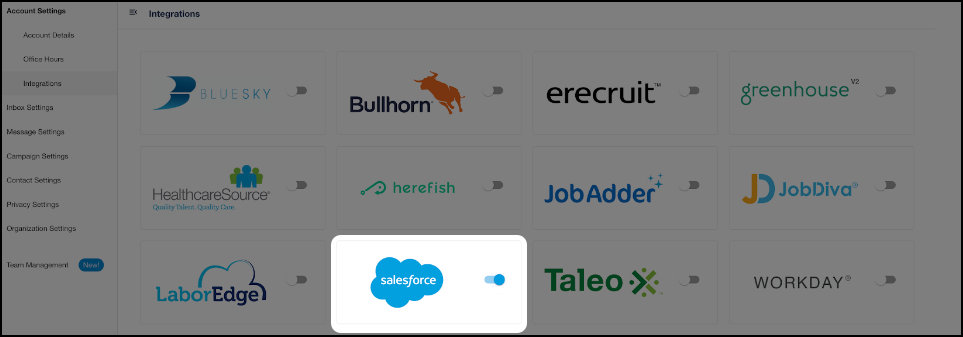
- On the left sidebar under Account Settings, click Integrations.
- Click the Salesforce icon, then click Authorize.
Note: To test your integration in the sandbox environment before deploying it to production, click the Connect to Sandbox Account toggle.
- Go to Salesforce and log in with your admin credentials.
- On the Allow Access popup window in Salesforce, click Allow.
- The integration process is complete. Your Salesforce icon on the Integrations page should now be toggled on.
Optional next steps
Your Salesforce integration with TextUs includes Apex components which you can use to send automated text messages through Process Builder. For more information, see the following articles: